written by: Andrew Houle // stored in: Tutorials
Introduction
The other day I was writing a roundup style post here on MIB that required a bunch of screenshots. I was capturing the shots, bringing them into Photoshop, then tediously editing each individual one. It didn’t take me long to realized I was wasting a lot of time. A commodity which us designers never seem to have enough of. The simple solution was to create a Photoshop action to handle the dirty work of repetitive steps. PS actions are beautifully suited to save time for us lazy (I mean productive) designers. The result was so simple and easy, I wanted to share it here with you.
First, A Little Bit About Photoshop Actions
Actions are scripts you can set up within Photoshop to help you handle repetitive tasks. Quite simply, you can record your steps during a project, then play those steps back the next time you’d like to do the same thing. There is a very nice compilation over at Smashing Magazine of free actions you can download and use. You can find them here in: The Ultimate Collection Of Useful Photoshop Actions.
Now, The Tutorial
Here’s how to create a simple Photoshop action for tilting, blurring and vignetting screenshots.
Step 1
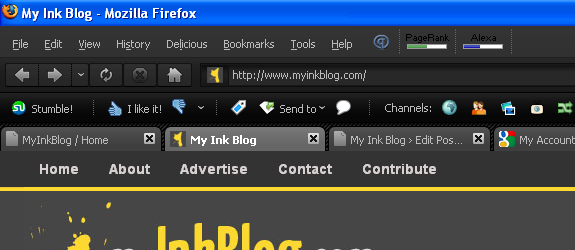
Open up Photoshop and start a new document at the size you want to use. Mine is set for 575px by 250px. Then grab a screenshot to use, to follow along with. Copy and paste it in your new document.
Step 2
Now bring up your actions palette. If you don’t see it in your panels, click window->actions. If this is your first time using actions, you’ll notice you have a bunch of default actions that Photoshop provides from the get go. Definitely check them out and see what they offer, some can be quite handy. For the purposes of this tutorial and future action additions, I suggest you make a separate folder. To do so, click on the small folder icon at the bottom of the palette just like you would within the layers palette. I called my folder, “My Actions”.

Step 3
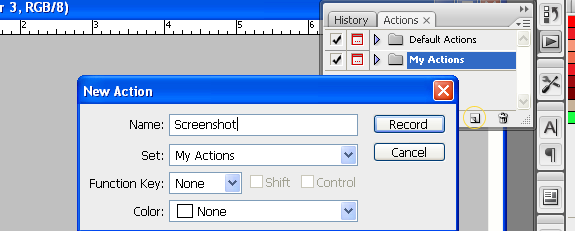
Click on the Create a new action icon directly to the right of the New folder button you selected in the last step. Name your action then click Record.
Step 4
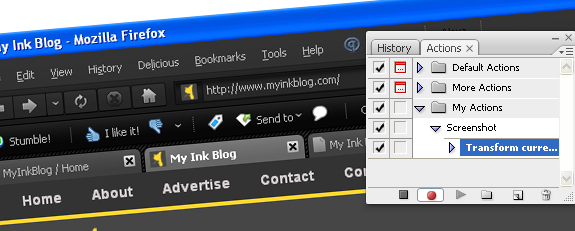
As soon as you create a new action you will notice the red record button is on. A few quick things to note about that. First off, don’t worry it’s not recording in actual time, your procedural steps are recorded and nothing else. Photoshop will wait for you to do something for days if you’d like, it will only record actually steps, so you’re there’s no rush. Also, as you make steps you’ll notice they will be listed below your action. If you don’t like a step, or change your mind you can always click the stop button and throw away (drag it to the trash) the step you don’t like, then click record again when you are ready.
The first thing we want to record is tilting the image, so click ‘command + t’ to bring up the free transform tool. In the properties at the top set the rotation to -5 degrees. Then click back on the image and hit enter to accept the tranform. Take notice of the step being recorded in the actions palette.
Step 5
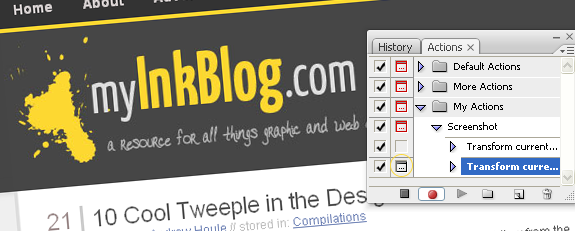
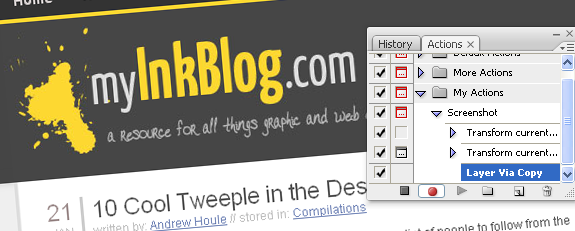
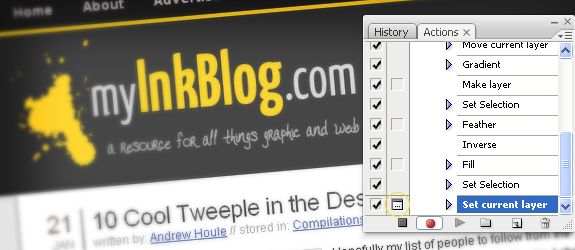
Now we are going to move the image into place. Hit ‘command + t’ again and drag the screenshot to where you think it looks best. This step will vary depending on the screenshot you use. So we will should place a stop action on it. To add one, toggle on the stop action icon next to the check mark, as shown in the image below. You could very easily have combined this and the last step, but I like the flexibility of breaking them up.
Step 6
Next up, hit ‘command + j’ to make a copy of the current layer.
Step 7
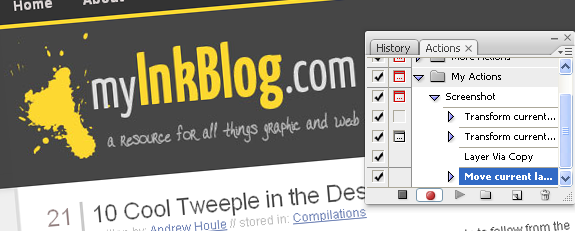
In the next step we are going to blur the original copy of the screenshot, so we can eventually mask the top layer. So we need to select the original image layer, but by simply clicking on that layer, the actions will set up a direct command for that layer name. Therefore, our action for a different screenshot will not work when we try to reuse it. Fortunately, the keyboard shortcut says to select a layer in reference to the current one, so that does the trick. All that is to say, hit ‘alt + [' to select the layer below the highlighted one.
d
Step 8
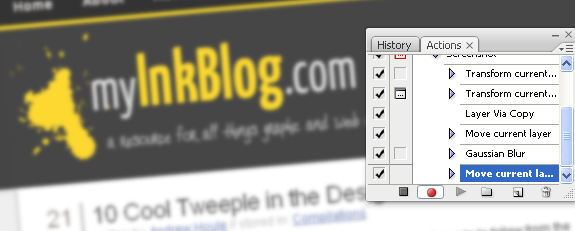
Now set your blur. Click Filter->Blur->Gaussian Blur and move the radius slider to around 2px and click ok.

Step 9
Next we need to select the top layer, so we can use a mask to reveal some of that blur. We will use the same technique as before, only this time we need to select the layer above the active layer, so press 'alt + ]‘.
Step 10
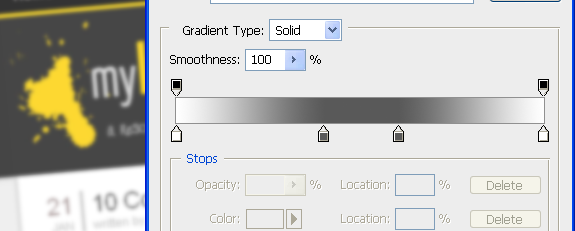
Add a layer mask to the top layer by clicking Layer->Layer Mask->Reveal All. Then grab the gradient tool (shorcut ‘G’ on the keyboard) and setup a white to gray to white gradient like the one referenced below. Click and drag from left to right on your image at an angle approximately like the tilt you setup earlier. This will reveal some of the blur at the edges.

Step 11
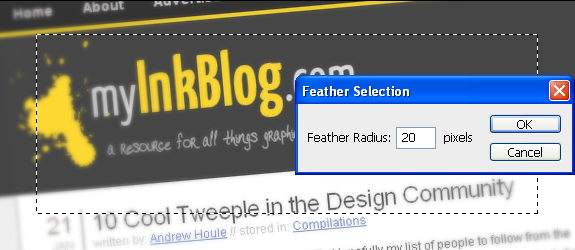
Create a new layer by clicking Layer->New->Layer. Grab the rectangle marquee tool (shortcut ‘M’ on the keyboard and make a selection like the one shown below. Feather the selection by clicking Select->Modify->Feather and choose 20px.
Step 12
Select the inverse by clicking Select->Inverse. Then set your background color to black and hit ‘command + backspace’ to fill your selection with black. This will feather a dark border around our image, it’s a bit overwhelming, so we’ll temper that in our next step.

Step 13
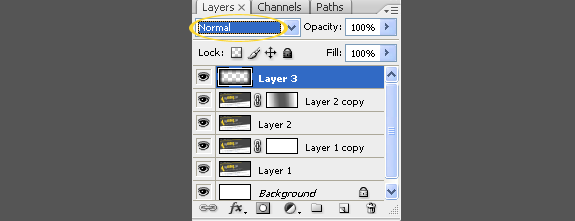
Change the layers blending mode to ‘Soft Light’ by clicking on the pull down menu in the layers palette where it currently says normal. I also would encourage you to add a stop action on this step because playing with the blending modes will give you different variations. Plus the effect will be dependant on the lighting of the image.
The Final Result
Here is what my result was after stepping through this action. Now, if you want to use the same technique on other screenshots all you have to do is grab the screenshot, bring it into a new document, and press play.

No comments:
Post a Comment